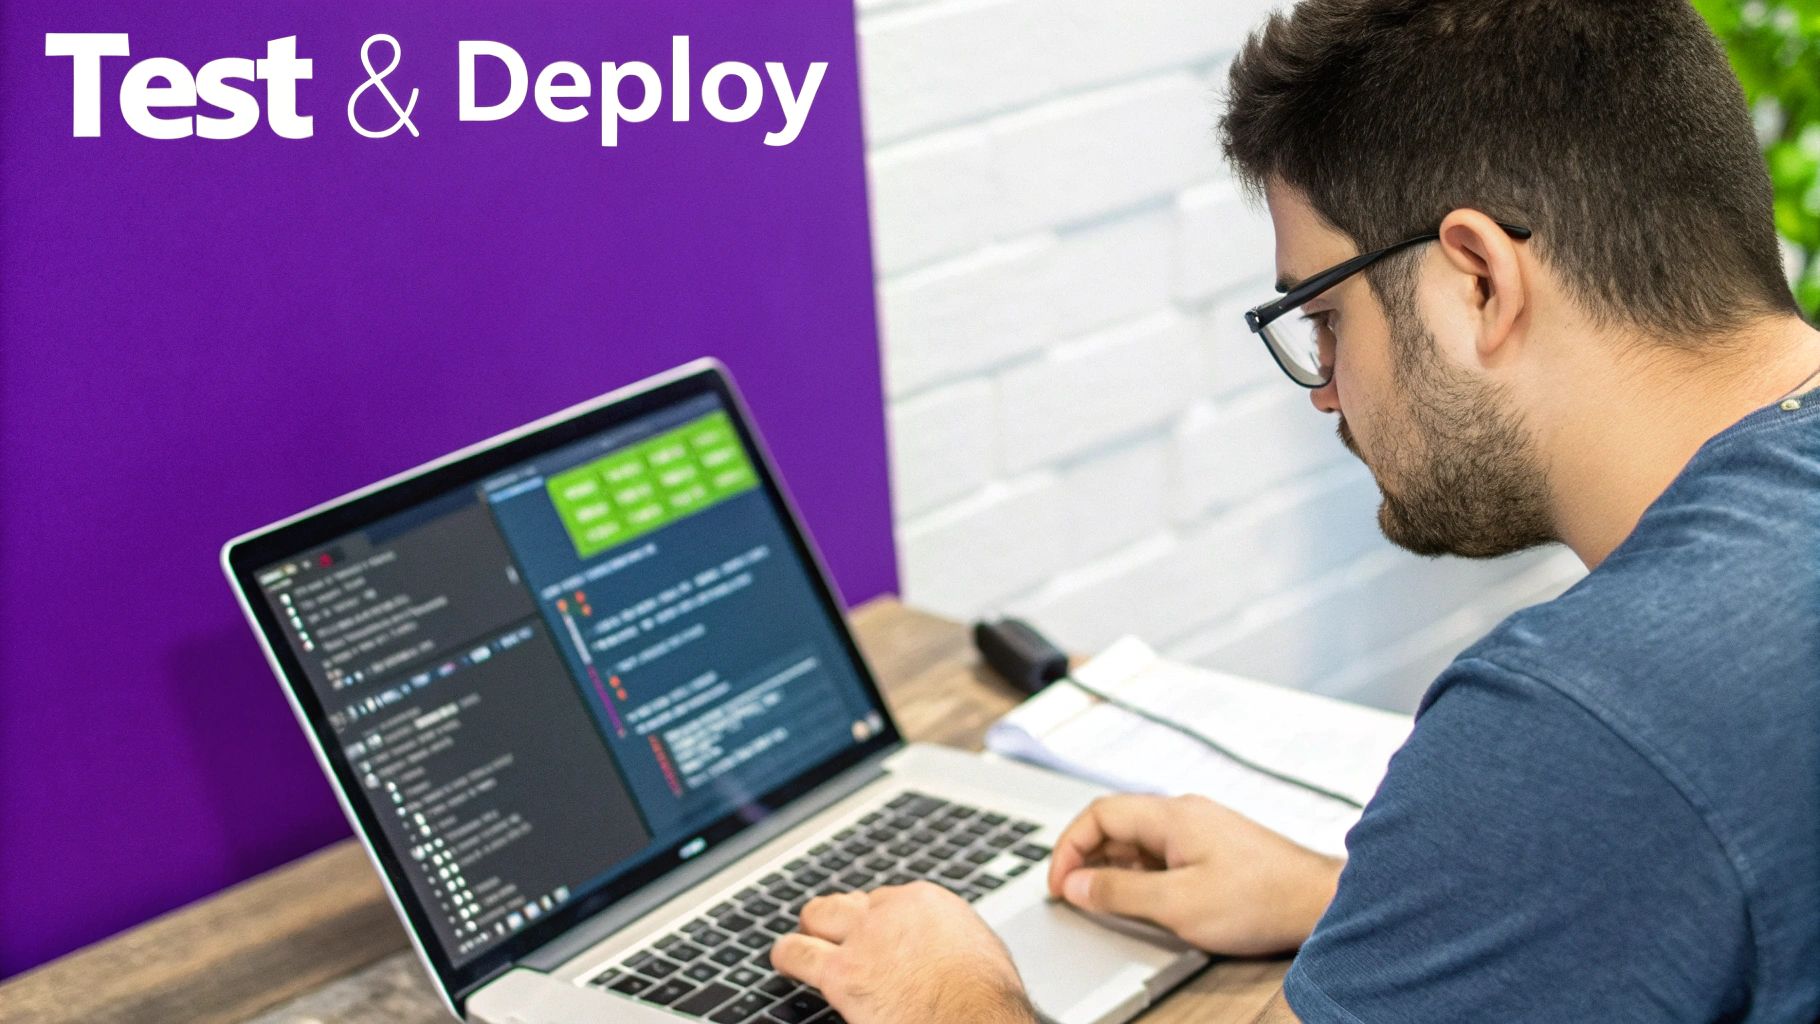
How to Make a Chatbot with Whisperchat.ai
Learn how to make a chatbot using Whisperchat.ai. Our guide covers setup, data training, brand customization, and simple deployment for any website.
Building a chatbot used to be a major technical headache, but that’s just not the case anymore. Today, you can get a powerful AI assistant up and running in four main stages: getting it set up, training it on your data, customizing it for your brand, and finally, deploying it on your website. With a platform like Whisperchat.ai, you can genuinely go from a blank slate to a live bot in less than an hour-no coding required.
From Manual Support to Automated Assistants
The leap from rigid, script-based chat to intelligent AI assistants has been huge. I remember when building a bot meant a massive investment in developers and endless lines of code. Now, that power is accessible to pretty much any business looking to improve how they operate.
The conversation has thankfully shifted from how to build a bot to what you can achieve with it. The focus is now squarely on real business results, not just the technology itself.
Key Benefits of Modern AI Chatbots
- Slash Operational Costs: When your chatbot handles the everyday questions, your team is freed up to focus on the conversations that truly need a human touch.
- Deliver 24/7 Support: Offer instant, correct answers anytime, day or night. This is a game-changer for customer satisfaction and building loyalty.
- Supercharge Lead Generation: You can proactively engage visitors, qualify potential customers on the spot, and guide them right into your sales pipeline.
This practical value is driving massive growth. The chatbot market is expected to jump from $15.57 billion in 2025 to a staggering $46.64 billion by 2029. Why? Because businesses are on track to save nearly 2.5 billion hours of human work.
Moving from manual grunt work to AI assistance is all about business efficiency. At its core, this is about automating repetitive tasks that drain your team's time and energy.
This guide is your roadmap. We’ll walk through the entire Whisperchat.ai process, step-by-step, so you can build an AI assistant that feels like a genuine, helpful member of your team.
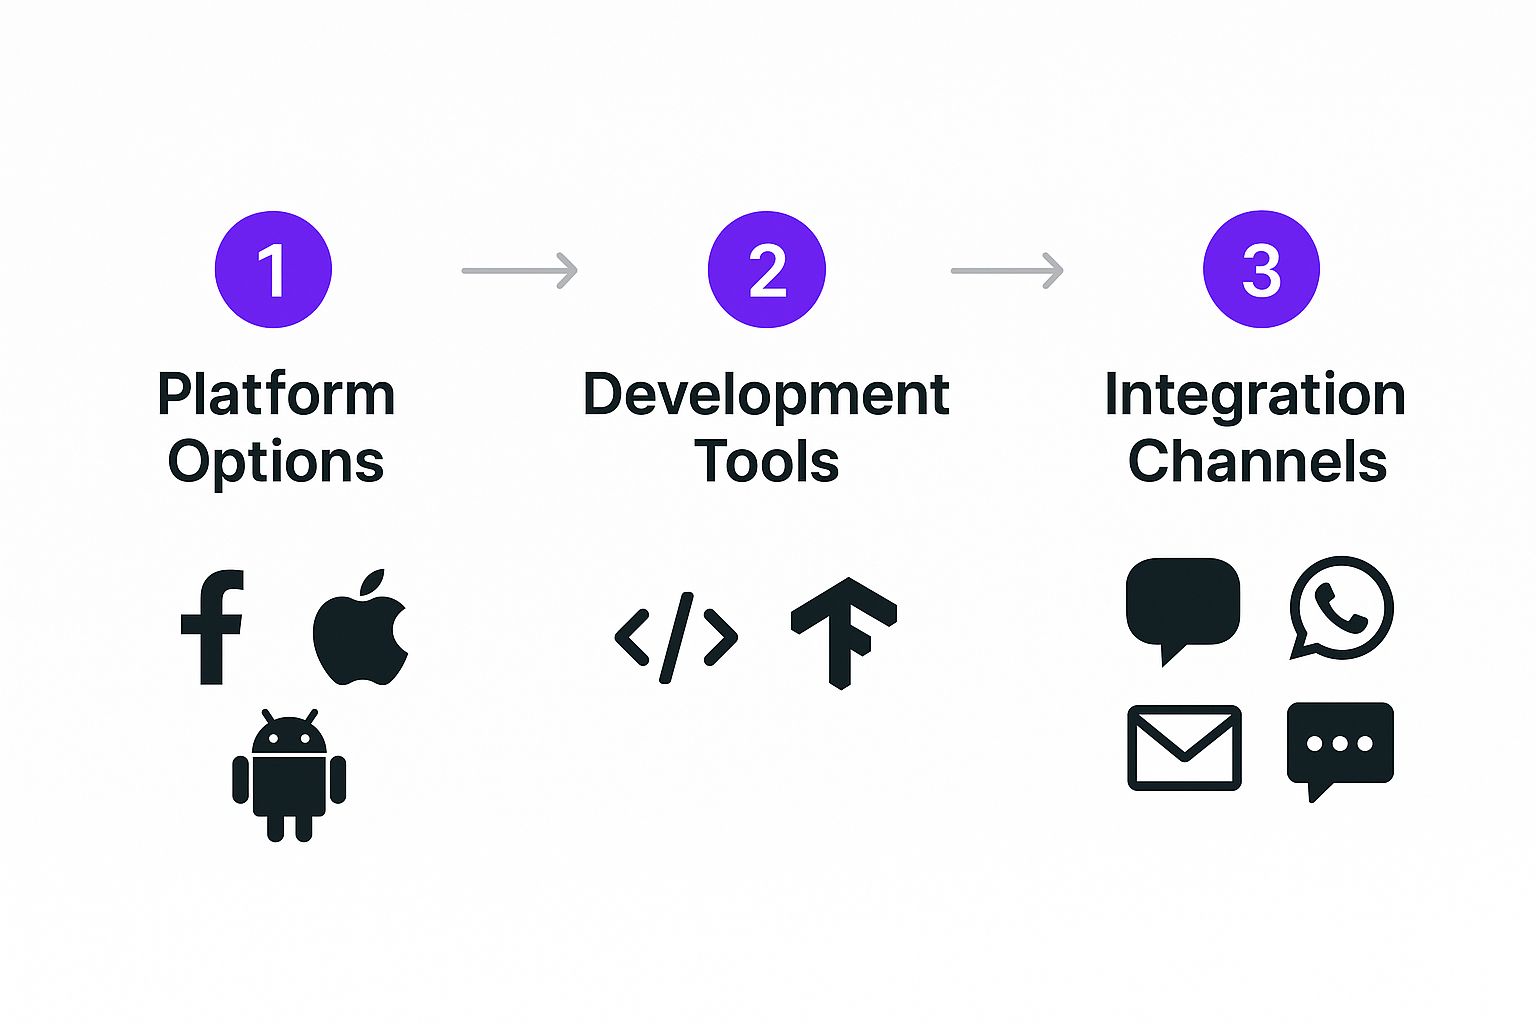
To give you a clear picture of what's ahead, I've broken down the process into a simple journey. Think of it as your project plan for launching a successful chatbot.
Your Chatbot Creation Journey with Whisperchat.ai
Here’s a quick overview of the key stages we'll cover to build and launch your chatbot, from initial setup to live deployment.
| Stage | Key Action | Primary Goal |
|---|---|---|
| Setup | Create your Whisperchat.ai project and define basic settings. | Establish the foundation for your new chatbot. |
| Training | Upload your documents, URLs, and other business knowledge. | Give your AI the specific information it needs to be an expert. |
| Customization | Adjust the bot's persona, appearance, and welcome messages. | Align the chatbot's look and feel with your brand identity. |
| Deployment | Embed the finished chatbot onto your website. | Make your AI assistant live and available to your visitors. |
Each part is designed to be simple and direct. My goal is to make sure you can build and launch your bot with complete confidence. Let's get started.
Getting Your First Chatbot Project Started
Jumping into a new platform can feel like a big commitment, but I've found that getting a new chatbot project off the ground with Whisperchat.ai is surprisingly fast. The whole idea is to get you from sign-up to a working project dashboard in just a couple of minutes, without getting bogged down in technical details. This first step is all about laying the groundwork for a bot that will genuinely help your business.
It all starts on the Whisperchat.ai homepage. After you create your account and log in, the system immediately guides you to start a new project. This is where you'll give your bot its first real identity.
Naming and Initial Configuration
The first choices you make are simple, but they matter. You'll need to give your project two names:
- A Project Name for your own internal tracking.
- A Chatbot Name that your website visitors will actually see.
For instance, if I were a real estate agent, I might call my project "Coastal Properties Lead Bot" internally. For the public, I'd choose something more welcoming, like "Coastal Realty Assistant."
Next, you'll pick the bot's primary language. It’s impressive that Whisperchat.ai supports over 100 languages right out of the box, which is a huge advantage if you have an international audience. For a deeper dive into these early decisions, our guide on how to build a chat bot has a lot of great pointers.
From my experience with any new build, it's smart to map out your priorities from the get-go. Using a project prioritization framework can be a lifesaver here, as it forces you to focus on the features that will deliver the most value first.
The best chatbots I've seen always start with a clear, simple goal. Before you even name it, know what you want it to do. Something like, "Answer questions about our shipping policy," or "Book demo appointments for our software." This clarity makes every other decision down the line much easier.
Once you’ve filled in these details, you're taken straight to the main project dashboard. Think of this as your mission control for this specific chatbot. From here, you’ll manage its training, appearance, and performance.
You'll quickly see that the dashboard is designed to be clean and intuitive. The most important actions-like adding data and customizing the bot-are right there in front of you, so you know exactly what to do next.
Take a moment to get your bearings. You'll be spending most of your time in a few key areas:
- Data Sources: This is where the magic happens. You'll upload your documents or link to website pages to give your bot its brain.
- Settings: Here, you get to fine-tune the bot's personality and how it behaves.
- Embed: This section gives you the simple code snippet needed to get the chatbot live on your website.
With your first project created, you're officially ready for the most crucial part: feeding your new chatbot the knowledge it needs to be helpful.
Giving Your AI Its Brain: Training with Custom Knowledge
Alright, this is where the magic really happens. This is the single most important part of building a chatbot that actually works for your business. Think of a brand-new AI as a brilliant hire on their first day-tons of raw talent, but they don't know the first thing about your products, policies, or customers. The training process is how you turn that generalist into a seasoned expert on your company.
With a platform like Whisperchat.ai, you don’t need a background in data science or programming. It’s all about feeding it the right information. You’ve got a few different ways to get your business knowledge into the system, and each one is designed for different kinds of content.
Choosing Your Data Sources
Let's be clear: the quality of your chatbot's answers is a direct reflection of the quality of the data you give it. The system works by reading your content, breaking it down into meaningful chunks, and using that understanding to formulate replies.
You can feed your bot knowledge using three main methods:
- Website Crawling: This is the fastest way to get started. Just pop in your website's URL, and Whisperchat.ai will go out and read the content on your pages. It’s perfect for grabbing all the information from your "About Us" page, service descriptions, and blog posts.
- Document Uploads: This is my go-to for internal documents or any detailed info that isn't public. We're talking about those PDF product manuals, Word documents with company policies, or even simple text files with a list of common support questions.
- Direct Text Input: Need to add a quick tidbit? This is your tool. You can just copy and paste text directly into the dashboard. It’s incredibly useful for adding a new FAQ on the fly or posting a temporary announcement without having to create and upload a whole new file.
From my own experience, the best chatbots come from using a mix of all three. I usually start by crawling the main website to lay down a solid foundation of knowledge. Then, I’ll upload more detailed PDFs and internal docs to fill in the gaps.
It all boils down to a simple, timeless principle: Garbage In, Garbage Out (GIGO). If you feed the AI vague, outdated, or messy information, you’ll get vague and unhelpful answers back. Clean, comprehensive, and well-structured source material isn't just a suggestion-it's essential for building a chatbot that people will actually want to use.
If you want to dive deeper into the nuts and bolts of this, our guide on training a chatbot with your own data explains the whole process from start to finish.
Best Practices for Prepping Your Data
Before you start uploading, take a moment to prepare your data. A little bit of curation now will save you a lot of headaches later. Don't just dump your entire file directory into the system.
For instance, if you're uploading a 200-page product manual, make sure it has a logical structure with clear headings and sections. The AI uses that structure to understand context, just like a person would. If you're crawling a website, make sure the pages you point it to are clean and focused on text. A page drowning in pop-ups and banner ads can easily confuse the crawler.
Here’s a quick cheat sheet for what works and what doesn't:
| Data Type | Good Example | Bad Example |
|---|---|---|
| PDFs | A structured employee handbook with a table of contents. | A scanned, low-resolution brochure where the text is part of the image. |
| Website | A clean, text-rich FAQ page with clear questions and answers. | A busy, image-heavy homepage that doesn't have much text. |
| Text | A neat list of customer questions, each followed by a concise answer. | A single, massive paragraph that rambles through multiple unrelated topics. |
Once you’ve added your sources, the platform gets to work processing everything and building out the knowledge base. This usually only takes a few minutes. After that, your bot is ready for a test drive. You can chat with it in a preview window to see how well it learned the material-a crucial check before you start customizing its look and feel and push it live.
A smart chatbot is one thing, but a chatbot that feels like an actual part of your team? That’s where the real magic happens. Once you’ve fed your AI all your company’s knowledge, the next crucial step is shaping its personality and appearance to perfectly match your brand. This is about so much more than just looking good-it’s about creating a seamless experience that builds trust from the very first click.
The great thing is, you don’t need to be a developer to do this. With Whisperchat.ai, you can easily transform a generic bot into a branded digital ambassador, all without touching a single line of code.
Giving Your Chatbot a Personality
First things first, let’s define your chatbot’s voice. Think about how your team communicates with customers. Is it formal and professional, or more on the friendly and conversational side? You can set this tone using a base prompt-a simple set of instructions that acts as the AI's guiding principle.
For instance, a law firm would want something completely different from a lifestyle brand.
- For the law firm: A good prompt might be, "You are a helpful legal assistant. Maintain a professional, clear, and direct tone. Avoid slang or overly casual language."
- For the lifestyle brand: They might go with, "You are a fun and friendly shopping assistant! Feel free to use emojis and keep your answers upbeat and helpful."
This small adjustment makes a world of difference. It ensures the bot's communication style mirrors what your customers already expect from you, making the whole interaction feel authentic.
Expert Takeaway: Your chatbot’s personality is its most powerful branding tool. A well-defined persona makes the bot feel less like software and more like a helpful team member, which can dramatically boost user engagement and trust.
It's amazing to think how far we've come. Early bots from the 1960s, like ELIZA, were just simple, rule-based programs that could barely hold a conversation. Today, with powerful NLP frameworks, we can create nuanced personalities that understand context and intent, making the experience far more believable. The evolution of the chatbot market really shows just how sophisticated this technology has become.
Matching the Look and Feel to Your Website
Once the personality is locked in, it’s time to make your chatbot look the part. A bot that clashes with your website’s design can feel jarring and out of place, instantly breaking the user's trust. Whisperchat.ai provides simple but powerful controls to make sure it blends in perfectly.
Here’s a quick rundown of what you can tweak:
- Color Palette: You can change the colors of the chat header, message bubbles, and buttons. Just pop in your brand’s specific hex codes, and you’ll get a perfect visual match with your site's design.
- Chatbot Avatar: This is a small but critical detail. Upload your company logo or a custom icon to act as the bot's profile picture. It immediately reinforces who the user is talking to.
- Welcome Messages: Ditch the generic "How can I help you?". Craft initial messages that feel on-brand, like "Welcome to [Your Brand]! Ask me anything about our products or services."
These visual touches create a cohesive experience. When the chatbot looks and feels like it belongs on your site, users are much more likely to engage with it and trust what it says. The goal is to make it feel like an extension of your website, not just some third-party widget you bolted on.
Deploying Your Chatbot on Your Website
Alright, you've done the hard work of building and fine-tuning your bot. Now for the fun part: getting it live on your website. This is the moment your creation goes from a project to a real-world tool that interacts with your visitors and adds value around the clock. The best part? Whisperchat.ai makes this final step incredibly simple, so you don't need to be a coding wizard to get it done.
The platform does all the heavy lifting. Just head over to your project dashboard and find the "Embed" section. Whisperchat.ai generates a small JavaScript code snippet for you. All you have to do is copy that code and paste it into your website's HTML, right before the closing </body> tag. Seriously, that's it.
How to Embed on Popular Platforms
No matter what platform powers your site, the core process is the same-find the spot to add custom code and paste the snippet. I've done this on countless sites, and it's always a quick job.
Here’s how it generally works on the most common platforms:
- WordPress: The easiest way is to use a simple plugin like "Insert Headers and Footers." Just install it, navigate to its settings, and paste the code into the footer section. This applies it across your entire site.
- Shopify: From your admin panel, go to
Online Store>Themes. ClickActionson your current theme and thenEdit code. Find thetheme.liquidfile in the editor and paste the snippet just above the closing</body>tag. - Webflow: In your project settings, click on the "Custom Code" tab. You'll see a "Footer Code" box-paste your snippet right in there and save.
Once you hit save, the chatbot widget should pop up on your site almost instantly. If you run into any snags or want a more detailed walkthrough, we've put together a complete guide on how to add a https://whisperchat.ai/blog/chat-widget-for-website.
A Pro Tip for Integration: To truly unlock your chatbot's potential, look into webhook integration. This is how you can connect your bot to other tools you use daily, like automatically sending new leads from a chat conversation straight into your CRM. It’s a game-changer for automating workflows.
It's also interesting to see how chatbot adoption trends can shape development. North America might lead in total numbers, but the Asia-Pacific region is catching up fast, with some of the highest growth rates-up to 32.9% annually. This kind of global momentum influences everything, from the features that get prioritized to how bots are personalized for different audiences.
With your bot now live, it's ready to start greeting visitors, answering their questions, and working for your business 24/7.
Answering Your Lingering Questions
As you get ready to launch your chatbot, a few common questions always seem to come up. I've been there myself. Let's tackle them head-on so you can move forward with confidence.
How Do I Keep My Chatbot's Knowledge Up-to-Date?
A chatbot is only as good as its information, so keeping it current is non-negotiable. Thankfully, Whisperchat.ai makes this a straightforward process. You'll want to head over to the 'Data Sources' section of your project dashboard.
Once you're there, you have a few ways to add fresh content:
- Upload New Files: Got a new product spec sheet or an updated policy document? Just upload the latest PDF, Word doc, or text file.
- Re-crawl a Website: If your blog or services page has changed, you can tell the bot to re-scrape the URL and pull in the new content.
- Add Text Manually: Sometimes it's easiest to just paste in a few new Q&As directly.
After you've added the new source material, hit the 'Retrain Chatbot' button. The AI will immediately get to work integrating the new knowledge, ensuring your bot's answers stay accurate and relevant without any downtime.
What Kind of Data Works Best for Training?
The quality of your training data has a massive impact on your chatbot’s performance. For the best results, you need to feed it information that’s clear, well-structured, and directly relevant to the questions you expect users to ask.
Here are some of the most effective data sources I've seen work time and again:
- Detailed FAQ pages from your website.
- In-depth product manuals or service guides.
- Official company policy documents.
- Clean, text-heavy website pages.
My best advice? Prioritize content that's already organized and descriptive. Avoid uploading messy documents filled with complex tables or purely visual assets like image-heavy brochures. The AI thrives on clear, readable text.
Can I Put the Same Chatbot on More Than One Website?
Yes, absolutely. The embed code you get from Whisperchat.ai isn't tied to a specific domain, so you can paste that same snippet onto any website you own. It's a great way to provide a consistent experience across different properties.
Just keep one thing in mind: all of those chatbots will be powered by the same project. That means they’ll all draw from the same knowledge base and share the same personality and appearance. If you need distinct chatbots with unique knowledge for different sites, your best bet is to create a separate project for each one in your dashboard.
How Do I See What People Are Actually Asking My Chatbot?
This is where the real magic happens. Understanding what your users are asking is the key to making your chatbot truly exceptional. Whisperchat.ai gives you a conversation log or analytics dashboard where you can review every single question your visitors ask.
Making a habit of checking these logs is one of the most valuable things you can do. You’ll quickly spot common questions your bot isn't equipped to handle, identify gaps in your knowledge base, and get pure, unfiltered insight into what your customers really want to know. Use that feedback to continuously refine your bot and make it an even more powerful asset.
Ready to build an AI assistant that delights customers and saves you time? Get started with Whisperchat.ai today and deploy your own custom-trained chatbot in minutes. Create your free account now.