
Create Chatbot Without Coding: Quick & Easy Setup
Learn how to create a chatbot without coding. Build, train, and launch your AI chatbot effortlessly with our step-by-step guide. Start today!
It’s entirely possible to create a chatbot without coding, and frankly, it's easier than you might think. Modern platforms are built with visual interfaces specifically for people who aren't developers. You can train an AI on your company’s unique data and get a fully operational chat widget live on your site in minutes. It often comes down to just copying and pasting a short snippet of code.
Why No-Code Chatbots Are a Business Essential

Not too long ago, the idea of building a chatbot felt like a major undertaking, something reserved for companies with big budgets and a team of programmers. That's just not the case anymore. The emergence of no-code AI tools has completely opened up this technology, making it a practical and essential tool for businesses of any size.
This change has shifted chatbots from a "nice-to-have" feature into a fundamental part of how businesses connect with customers. They’re on the clock 24/7, delivering instant answers, helping visitors find what they need, and capturing leads long after your team has gone home for the day.
Slashing Costs and Empowering Teams
The most obvious win is how much time and money you save. What used to be a months-long project costing thousands can now be accomplished in an afternoon. This accessibility puts the power directly into the hands of the people who know your customers best: your marketing, sales, and support teams. They can build and tweak the bot themselves.
This direct control means the chatbot’s personality and answers will always match your brand and business objectives. If something isn't working, your team can adjust it immediately without filing a ticket with the IT department. The result is a far more nimble and effective customer support experience.
The growing demand for these tools is clear. The global chatbot market was valued at around $15.57 billion in 2025 and is expected to jump to an incredible $46.64 billion by 2029. This boom is almost entirely driven by user-friendly platforms that let anyone create a chatbot without writing a single line of code.
No-code platforms offer several compelling advantages that make them a smart investment for nearly any business. Here’s a quick breakdown of what you stand to gain.
Key Benefits of No-Code Chatbot Platforms
| Benefit | Description | Business Impact |
|---|---|---|
| Speed to Market | Launch a fully functional chatbot in hours or days, not months. | Gain a competitive edge by responding to customer needs faster. |
| Cost Efficiency | Eliminates the need for specialized developers and lengthy project cycles. | Significantly lowers the barrier to entry for advanced AI support. |
| Team Empowerment | Allows non-technical teams (marketing, sales, support) to build and manage the bot. | Ensures the chatbot's voice and knowledge are always aligned with business goals. |
| Rapid Iteration | Easily update information, change conversation flows, and add new skills on the fly. | Adapt quickly to customer feedback and changing market conditions without delays. |
| 24/7 Availability | Provides instant, automated support and lead capture around the clock. | Improves customer satisfaction and ensures no lead is ever missed. |
Ultimately, adopting a no-code solution is about making your business more agile, responsive, and efficient without a massive upfront investment.
Driving Tangible Business Growth
Beyond just answering questions, these bots are serious tools for growth. For an e-commerce store, a chatbot becomes a personal shopping assistant. A great resource on Shopify chatbots and AI assistants explores these applications in-depth. They can suggest products, answer questions about shipping, and even help reduce cart abandonment by offering help at the perfect moment.
If you're a service-based business or a SaaS company, a bot can handle the initial lead qualification, asking screening questions and collecting contact details. Our guide on how a no-code chatbot builder can transform your website visitors into qualified leads shows just how powerful this can be. By automating these routine tasks, you free up your human team to focus on the complex, high-value conversations that truly need their expertise.
Alright, let's jump right into the Whisperchat.ai platform. Once you’ve signed up and logged in, you’ll land on the main dashboard. My first impression, and something I still appreciate, is how clean and uncluttered it is. It’s designed to get you from zero to a working chatbot without a steep learning curve.
You’re not going to be digging through endless menus. Instead, the most important button you need, ‘New Bot’, is right there waiting for you. This is where every project begins.
The whole experience feels less like navigating software and more like following a clear, guided path to create a chatbot without coding.
Finding Your Way Around the Dashboard
The layout really is as simple as it looks. The left-hand panel is your command center for managing all your different bots. The main area in the center is where the real work happens-this is your active workspace for a specific bot. It's here you'll be feeding it data and tweaking its personality and look.
This setup is intentional. It keeps the critical functions right in front of you, so you can focus on building a smart assistant instead of fighting with the interface.
Key Takeaway: The Whisperchat.ai dashboard is built for speed and simplicity. It’s all about removing the technical roadblocks so you can focus on what actually matters: training a chatbot on your specific business knowledge.
Once you feel comfortable with this main screen, you're ready for the most crucial part: giving your chatbot its brain. We'll get into the specifics of that next. If you want a more comprehensive overview of the entire process from start to finish, we've put together a guide on how to build your own chatbot that covers everything in detail.
Think of this initial tour as a way to get your bearings. Everything is grouped into a few core areas to make your life easier:
- Data Sources: This is where you'll upload your documents, connect your website, or even paste in raw text. It's the knowledge hub for your bot.
- Customization: Want to change the colors to match your brand? Or maybe set a unique welcome message? This is the spot.
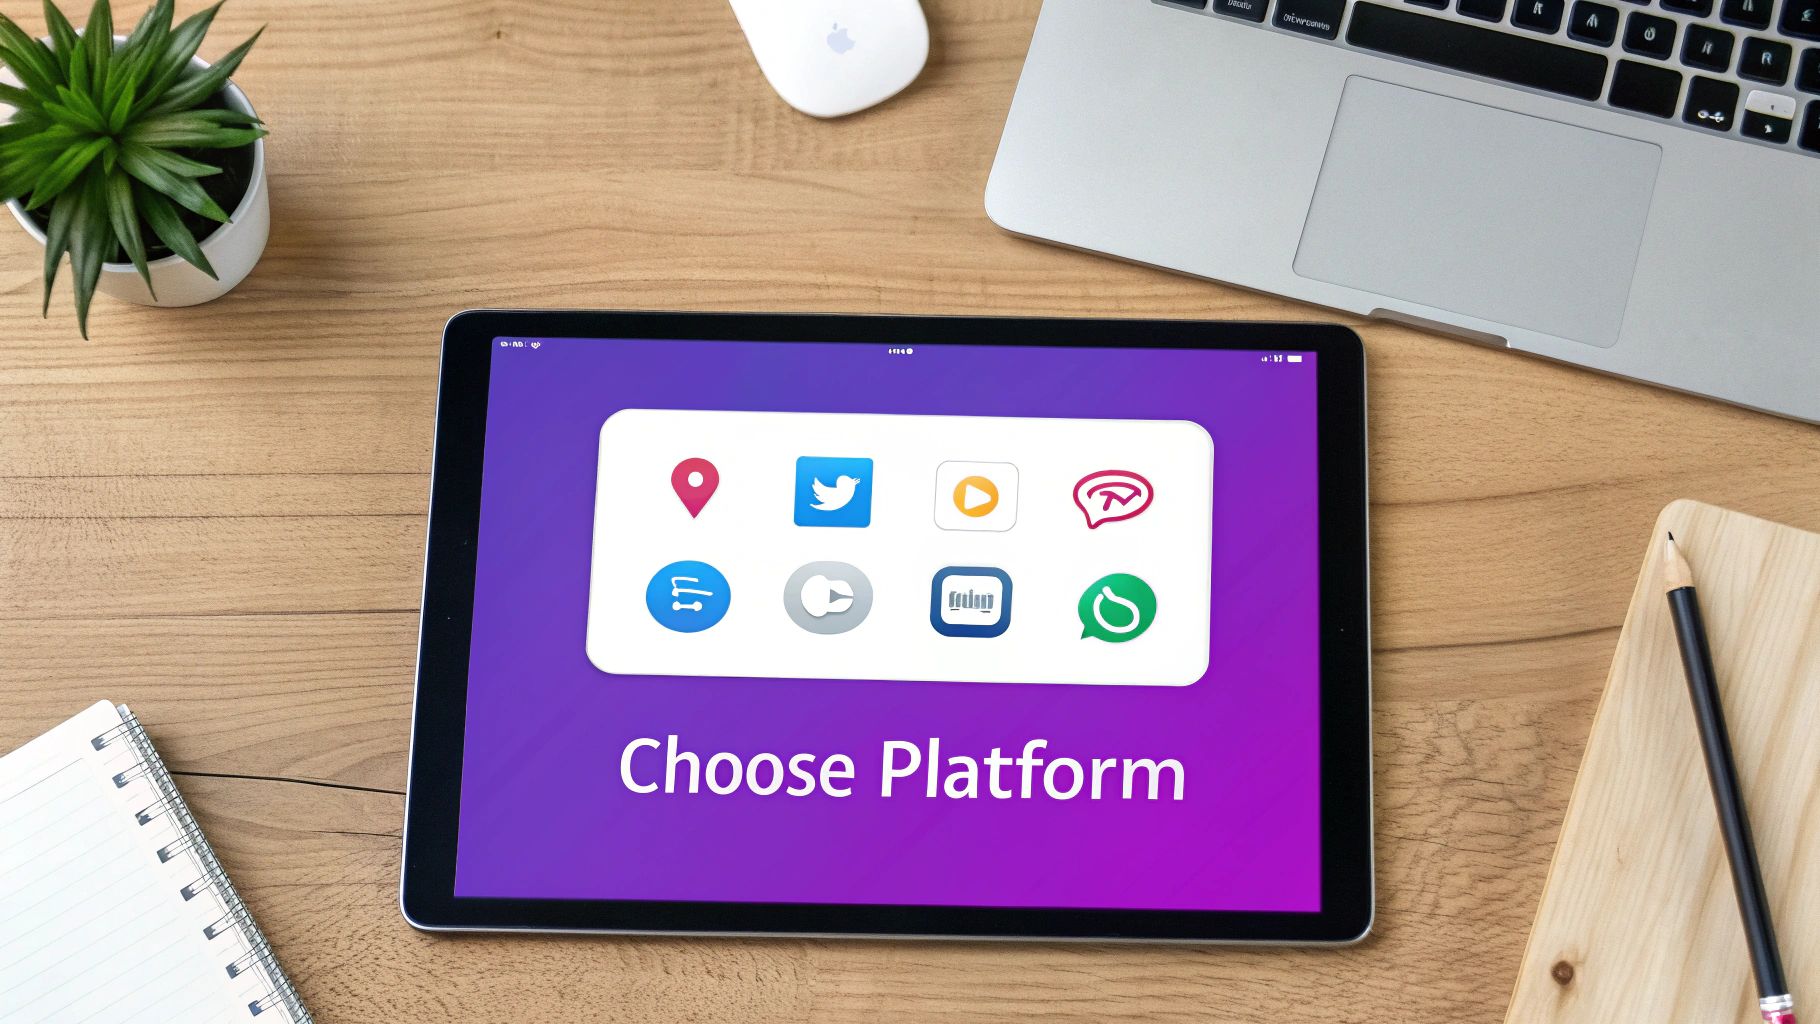
- Integration: When you're ready to go live, this tab gives you the simple copy-paste code to embed the chatbot on your website.
By organizing the workflow this way, you can move from a brand new account to a fully trained bot much faster than you might expect.
Training Your Chatbot With Your Own Data
This is where the magic really happens. You’re about to turn a general-purpose AI into a specialist that knows your business inside and out. When you create a chatbot without coding, its true value hinges on the information you feed it. Simply put, a bot is only as smart as the data it’s trained on.
Thankfully, platforms like Whisperchat.ai make this process surprisingly simple. You don't need a data science degree; you just need to know where your company's most important information is stored.
The system is built to pull knowledge from a few different places, which gives you a ton of flexibility. I like to think of it as giving a new team member all the handbooks and guides they need to get up to speed on day one.
Choosing Your Data Sources
Inside the Whisperchat.ai dashboard, you’ll find a few main ways to get your data into the system. Each one is designed for different situations, so the trick is to pick the method that quickly covers the kinds of questions your customers actually ask.
Here's a breakdown of your options:
- Website Crawl: This is often the best place to start. Just pop in your website's URL, and the platform will read and learn from all your public pages.
- Sitemap: If you have a large site with tons of pages, using a sitemap is a game-changer. It provides a complete map of your site, ensuring the bot doesn't miss a single corner.
- Text File Upload: Have a detailed FAQ document or technical manual? You can upload it directly as a .txt, .pdf, or .doc file. This method gives you surgical control over the bot's knowledge.
For example, I've seen e-commerce stores use a sitemap to instantly train their bot on every product page. A SaaS company, on the other hand, might get more mileage from uploading a dense PDF of their technical documentation to handle very specific user queries.
Expert Tip: Start by tackling your most common customer questions head-on. I always recommend creating a simple text file with straightforward question-and-answer pairs. It’s one of the most reliable ways to guarantee your bot gives sharp, accurate answers to high-frequency questions right out of the gate.
This screenshot from the Whisperchat.ai dashboard shows you just how clean the process is.
As you can see, the interface is all about action, letting you upload your content in just a couple of clicks. No fluff.
Quality Over Quantity
It can be tempting to just dump every document you've ever created into the system, but that's a mistake. The real secret is high-quality, relevant data.
Think about it: outdated marketing brochures or internal-only notes will just confuse the bot, leading to weird or wrong answers.
Modern AI has gotten incredibly good at understanding language. Top chatbot models now hit accuracy rates between 85% and 98.5%, which shows how dependable they can be. But that impressive accuracy is completely dependent on the clarity of the source material you provide. You can learn more about the impressive capabilities of current AI bots and how they’re measured.
Ultimately, your chatbot is a mirror. If you give it a knowledge base that is clear, concise, and current, it will become an incredibly valuable tool. If the data is a mess, the bot’s performance will reflect that. This is the single most important thing to get right when you build a no-code chatbot.
Customizing Your Chatbot's Voice and Look

Alright, you’ve fed your chatbot the knowledge it needs. Now comes the fun part: making it truly yours. A generic bot sticking out like a sore thumb on your website can feel disjointed and frankly, a bit cheap. This is why spending a few minutes on branding is one of the most impactful things you can do.
Think about it-your chatbot is often the first "hello" a new visitor gets. By matching its personality and look to your brand, you create a seamless, professional experience from the get-go. Whisperchat.ai gives you some simple but powerful tools to get this done right.
Crafting Your Chatbot's Personality
This all starts with the Base Prompt. I like to think of this as the bot's "director's notes"-it’s a private instruction that tells the AI how to behave. It’s where you go beyond just spitting out facts and inject some genuine character.
You have total control here. You could instruct it to be formal and professional, which is perfect for a financial services firm. Or, you could tell it to be upbeat, friendly, and pepper its replies with emojis-a great vibe for a modern e-commerce brand.
Here are a couple of real-world examples to get you started:
- For a B2B SaaS company: "You are a friendly and knowledgeable support assistant for Acme Corp. Your tone is professional but helpful. Always provide clear, step-by-step answers. Do not use slang or emojis."
- For a fun e-commerce store: "You are SparkleBot, the enthusiastic shopping guide for 'Glow Up Cosmetics.' Be upbeat, friendly, and use fun emojis. Keep your answers short and exciting!"
This small bit of text makes a massive difference in how users perceive your bot.
Matching Your Visual Brand Identity
Looks matter, especially online. In fact, a study on website design revealed that 94% of first impressions are purely design-related. A chatbot that clashes with your site's color scheme or style can instantly erode a user's trust.
My Advice: Don't treat this as an optional step. It takes less than five minutes to plug in your brand colors and upload a logo. This small effort immediately makes the chatbot feel like a native, trustworthy part of your website, not some clunky third-party plugin.
Inside the Whisperchat.ai settings, you can dial in the visuals pretty quickly:
- Widget Color: Grab the hex code from your brand guide and paste it in. This ensures the chatbot's header and message bubbles are a perfect match.
- Chatbot Icon: Swap out the default icon for your own logo. This is a huge win for brand recognition.
- Greeting Messages: Write a few welcome messages that pop up when a user first opens the chat. This is your chance to set the tone and even suggest a few common questions to get the conversation started.
When you nail both the personality and the visual design, you create an experience that feels cohesive and polished. It builds user confidence and encourages people to actually engage with the bot from the very first click.
You've put in the work to build and customize your chatbot. Now comes the final, and surprisingly simple, part of the process: getting it live on your website. I find that many people think this is where things get technical and complicated, but with a platform like Whisperchat.ai, it’s really just a quick copy-and-paste job.
Honestly, this is the whole point of building a chatbot without code. All that effort you spent training and styling your bot culminates in this straightforward deployment. You don't need to be a developer or understand what the code does; you just need to know where it goes.
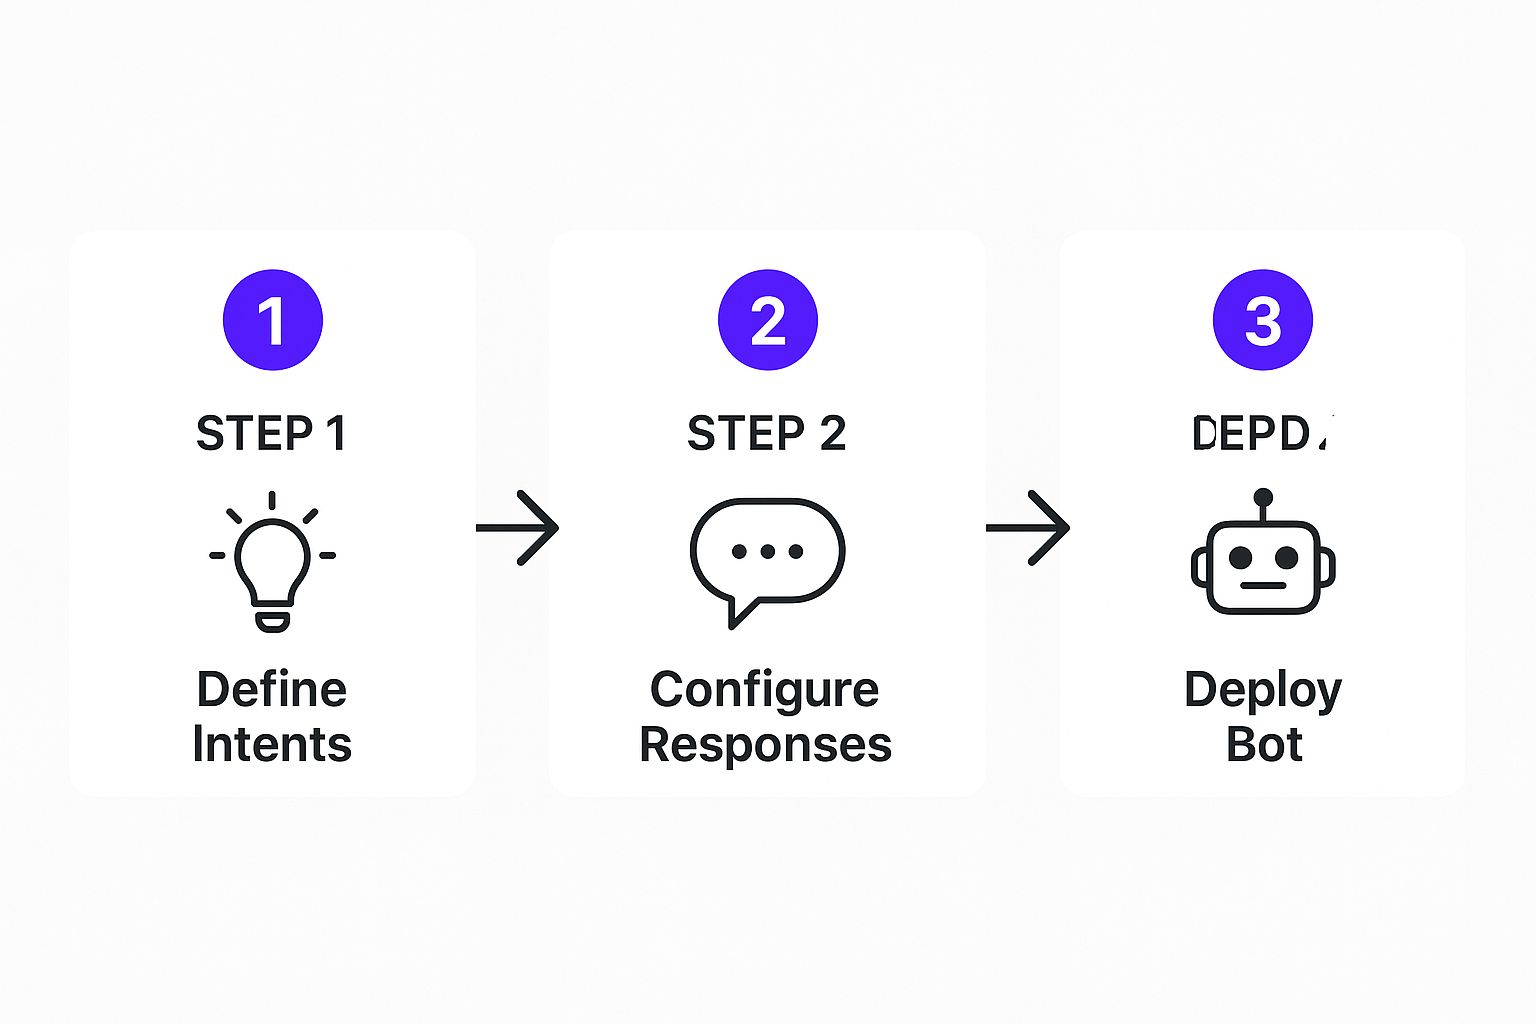
This simple workflow is what makes these no-code tools so effective. You define what the bot should know, you configure how it should respond, and then you deploy it.
As you can see, deployment isn't some complex final boss battle. It’s just the last piece of a very manageable puzzle.
Finding and Placing the Code Snippet
First things first, you need to grab the code. Head into your Whisperchat.ai dashboard and look for a section called "Integration" or "Embed" for your specific bot. Inside, you'll find a small block of JavaScript code generated just for you. This little snippet is the magic that makes the chatbot widget appear on your website.
Go ahead and copy that entire code block.
Now, you need to paste this into your website's HTML. The standard best practice-and what I always recommend-is to place it just before the closing </body> tag. Doing this ensures all your primary site content loads first, so the chatbot script doesn't slow down the page load time for your visitors.
The ease of this process is a game-changer. It's no wonder that some projections estimate that by 2025, chatbots could handle as much as 95% of customer support interactions in certain industries. This shift allows smaller businesses to field powerful support tools that were once only available to companies with big developer teams. If you're curious, you can read more about these customer service trends and see the data for yourself.
To make sure you don't miss a step during the go-live process, I've put together a simple checklist. Following this will help ensure a smooth deployment.
Chatbot Integration Checklist
| Step | Action | Status (To-Do / Complete) |
|---|---|---|
| 1. Locate Snippet | Find the JavaScript code in your Whisperchat.ai "Integration" or "Embed" section. | |
| 2. Copy Snippet | Copy the entire code block to your clipboard. | |
| 3. Access Website Backend | Log in to your website platform's admin panel (e.g., WordPress, Shopify). | |
| 4. Find Code Injection Area | Navigate to the correct file or setting for adding custom scripts (e.g., theme.liquid or a "Custom Code" field). |
|
| 5. Paste Snippet | Paste the code just before the closing </body> tag. |
|
| 6. Save Changes | Save the file or publish your changes. | |
| 7. Test Live Bot | Open your live website and verify that the chatbot widget appears and functions correctly. |
Running through this quick list before you pop the champagne is a great way to catch any small oversight.
Tips for Different Website Platforms
Pasting the code varies slightly depending on your website builder. Here’s a quick rundown for the most common ones:
- WordPress: The easiest way is to use a plugin like "Insert Headers and Footers." It gives you a simple box to paste the code into your site's footer without having to dig into your theme files.
- Shopify: From your admin dashboard, go to
Online Store > Themes. ClickActionson your current theme and thenEdit code. Find thetheme.liquidfile in the editor and paste your snippet right before the</body>tag at the bottom. - Other Builders (Squarespace, Wix): Most other platforms have a dedicated spot for this. Look for something called "Custom Code," "Code Injection," or "Tracking & Analytics" in your site-wide settings.
Pro Tip: If you have a staging or development version of your site, test the chatbot there first. This is my go-to move before any launch. It gives you a safe sandbox to make sure the bot looks and acts exactly how you want it to, all without any risk to your live traffic. It’s a smart final check.
Fine-Tuning Your Chatbot for Peak Performance
Getting your chatbot live is a fantastic first step, but the real magic begins now. Don't think of your bot as a "set it and forget it" tool. Instead, view it as a new team member that needs a bit of coaching to get better over time. The goal is to turn it from a simple Q&A machine into a genuinely helpful assistant.
Your command center for this is the Whisperchat.ai dashboard. It captures every single conversation, creating an invaluable log of what your customers are really asking. This is where you'll find the insights to make your chatbot truly exceptional.
Digging into the Conversation Logs
Start by heading straight to the conversation history. This is where you’ll see the raw, unfiltered questions your users are asking. Look specifically for the interactions where your bot couldn't find an answer and had to say something like, "I'm not sure."
These aren't failures-they're free, direct feedback from your audience. Each one points to a specific piece of information your customers want but can't find.
Here’s a glimpse of the analytics dashboard, where you can see exactly what people are typing into your chat widget.
This view is perfect for quickly spotting recurring questions or themes that your current knowledge base doesn't cover.
Found a common question your bot is fumbling? The fix is usually straightforward. Just update the source material.
- You might add a new entry to your Q&A document.
- You could add a new paragraph to an existing FAQ page on your site.
- You could even create a whole new page dedicated to that topic if it's a big one.
Once you update the source and re-train the bot, it will know the answer next time. This creates a simple but incredibly powerful feedback loop.
The Big Idea: Your aim should be a constant cycle of improvement. Review chats, find the gaps, update your data sources, and then do it all over again. This iterative process is how you build a chatbot that becomes an indispensable part of your customer experience.
This approach ensures your chatbot grows right alongside your customers' needs. For a more detailed breakdown of what to track, take a look at our complete guide on understanding chatbot analytics. It’s packed with tips for turning raw numbers into smart decisions that improve both user happiness and your bottom line. This is the secret to making a no-code chatbot that actually delivers results.
Answering Your Top Questions About No-Code Chatbots
Even after walking through the setup, I know you probably have a few practical questions buzzing around. It's totally normal. Let's dig into some of the most common concerns I hear from businesses when they're on the fence about building their first chatbot.
What's This Going to Cost Me?
Let’s get right to it-the price tag. When you hear "custom chatbot," your mind might jump to developer fees that can easily run into the tens of thousands of dollars. For most small to medium-sized businesses, that’s just not realistic.
This is where no-code platforms really shine. Instead of a massive upfront investment, tools like Whisperchat.ai operate on a simple subscription model. You’re typically looking at a manageable monthly fee, which makes budgeting predictable and powerful AI accessible to just about anyone.
The Bottom Line: You can get a sophisticated, AI-powered assistant live on your site for less than you probably spend on coffee. It completely flips the script, turning a huge capital expense into a small, predictable operational one.
Will It Play Nice With My Other Software?
A chatbot working in isolation is helpful, but one that’s plugged into your other business tools? That’s a game-changer. I’ve seen this firsthand-connectivity is what separates a good bot from a great one.
Fortunately, modern no-code builders are designed for this. You’ll find features like webhooks or direct integrations that let your chatbot talk to your other systems.
For example, you can set it up to:
- Push new lead contact info straight into your CRM.
- Add a new subscriber directly to your email marketing list.
- Create a support ticket in your helpdesk software.
This kind of automation is huge. It doesn't just save you time; it closes the gaps where hot leads or support requests can get lost.
How Do I Make Sure It Gives Good Answers?
This is the most critical question of all. A chatbot is only as smart as the information you give it. Think of it this way: its accuracy is a direct reflection of your source material. Garbage in, garbage out.
To get consistently high-quality responses, you need to feed your bot comprehensive and up-to-date data. Start with your core website pages, detailed product documentation, and-most importantly-a well-built FAQ page.
My best advice? Make it a habit to review your chat logs periodically. This is your secret weapon for finding out what your bot doesn't know. You can quickly spot knowledge gaps, update your source documents, and make your bot smarter with every interaction.
Ready to see just how easy it is to build a smart assistant for your own website? Get started with Whisperchat.ai and you can have a no-code chatbot live in a matter of minutes. Create your free bot today!